上次了解到nginx相关基础知识,这次就趁热打铁,学习亲手搭建一个静态资源的文件服务器。其中会涉及到gzip功能的配置。
搭建目标
1、可以成功访问一些静态资源文件(图片、日志文件html等)
2、服务器会以gzip压缩的形式返回数据
搭建步骤
容器运行nginx,端口映射到本机8080
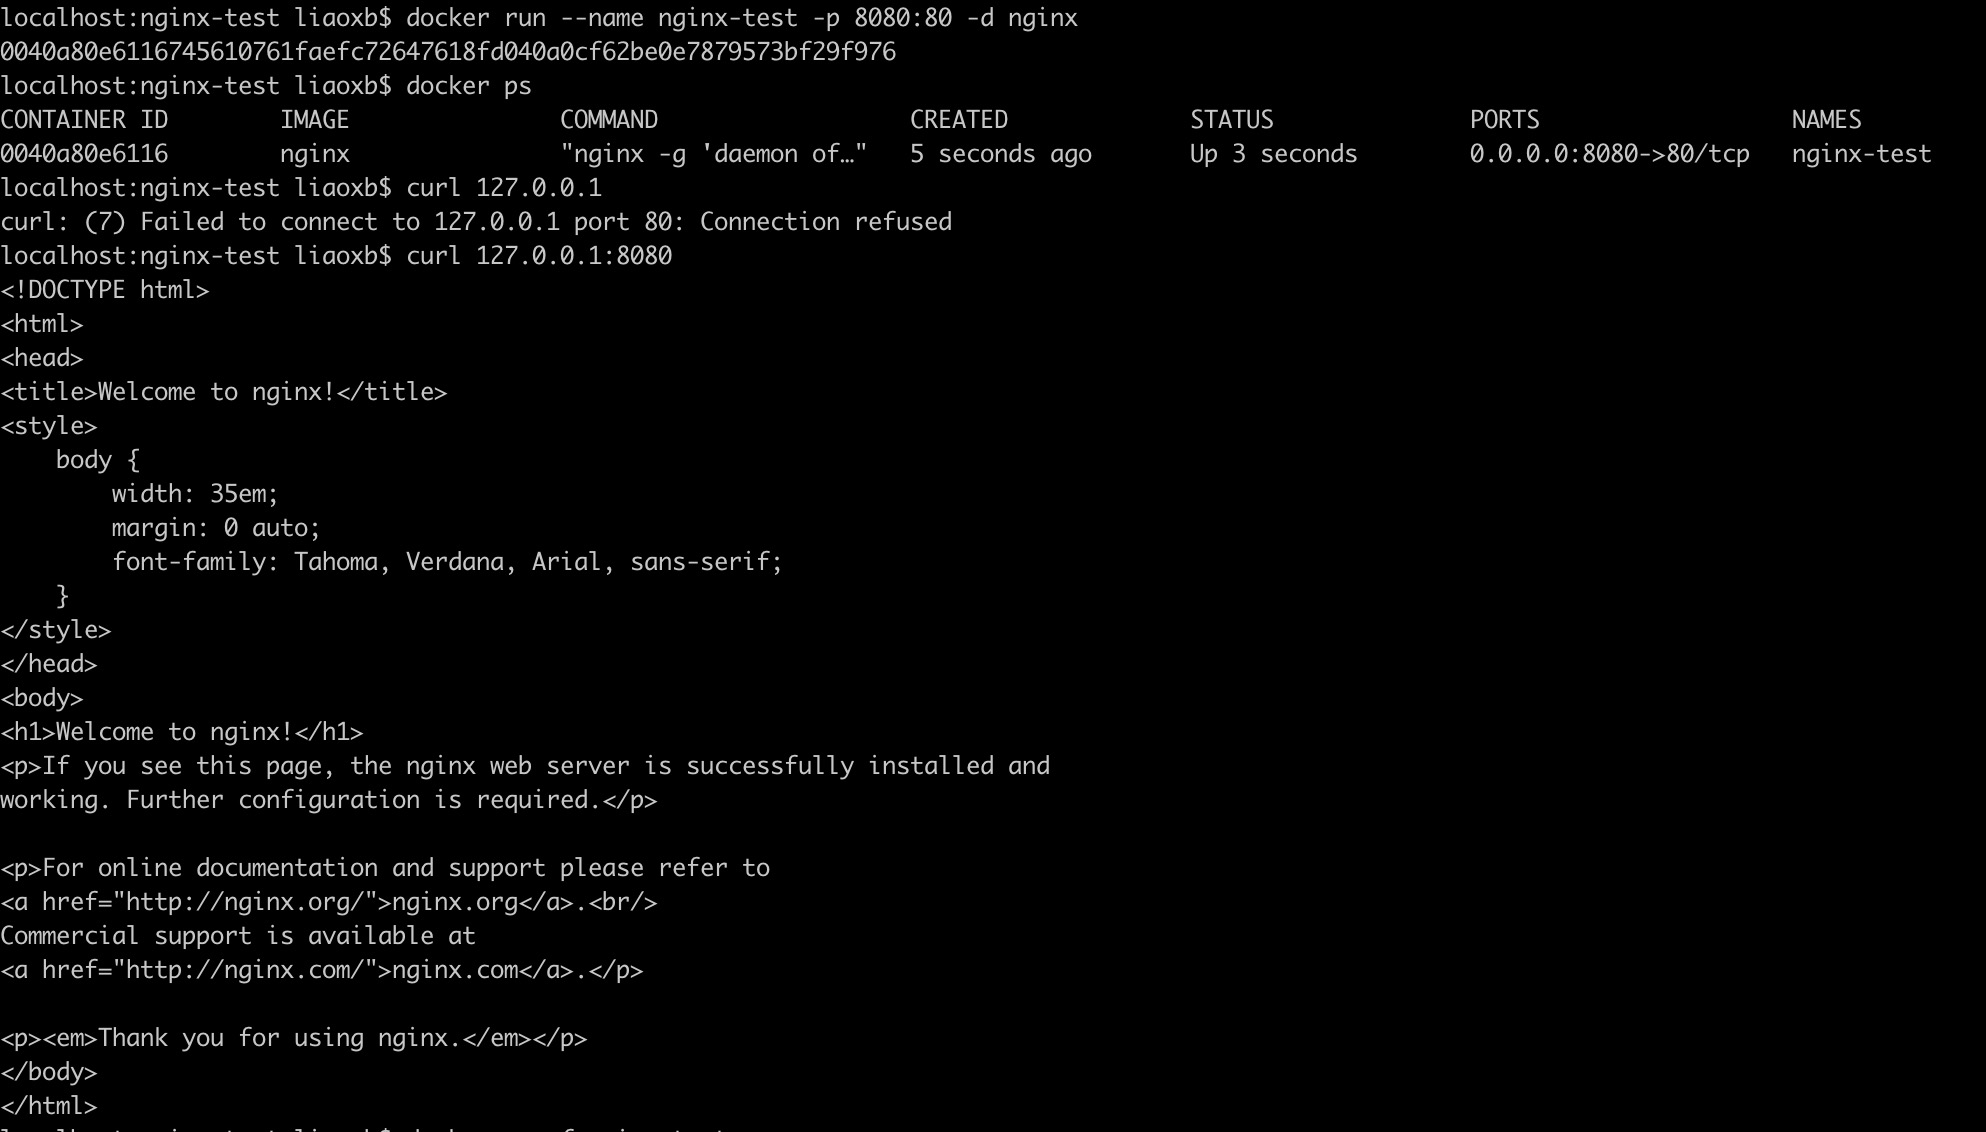
查看静态资源文件和nginx.conf
本地机器上,静态资源全部放在static-web目录下。
子目录img存放的是图片jpg、png,子目录robot-log存放的是每天归档的测试日志报告html。
1
2
3
4
5
6
7
8
9
10
11
12
13
14
15
16
| localhost:nginx-test liaoxb$ tree
.
├── nginx.conf
└── static-web
├── img
│ ├── test01.jpg
│ └── test02.png
└── robot-log
├── 2019-01-16
│ ├── log.html
│ ├── output.xml
│ └── report.html
└── 2019-01-17
├── log.html
├── output.xml
└── report.html
|
相比nginx容器内的默认配置文件,本地对nginx.conf做了如下改动(重要):
1、开启了gzip功能,并配置了相关参数(后面会详细介绍参数)
2、server块里追加了两个location块(/img/、/robot-log/),将对应请求路由到root所指向的目录或index文件
3、修改了server_name,记得在本地主机/etc/hosts文件下写入static.web.com
4、注释了include参数,不过根目录依然是可以访问到nginx默认欢迎页面的。
完整配置内容如下:
1
2
3
4
5
6
7
8
9
10
11
12
13
14
15
16
17
18
19
20
21
22
23
24
25
26
27
28
29
30
31
32
33
34
35
36
37
38
39
40
41
42
43
44
45
46
47
48
49
50
51
52
53
54
55
56
57
58
| user nginx;
worker_processes 1;
error_log /var/log/nginx/error.log warn;
pid /var/run/nginx.pid;
events {
worker_connections 1024;
}
http {
include /etc/nginx/mime.types;
default_type application/octet-stream;
log_format main '$remote_addr - $remote_user [$time_local] "$request" '
'$status $body_bytes_sent "$http_referer" '
'"$http_user_agent" "$http_x_forwarded_for"';
access_log /var/log/nginx/access.log main;
sendfile on;
keepalive_timeout 65;
gzip on;
gzip_min_length 1k;
gzip_buffers 4 16k;
gzip_http_version 1.1;
gzip_comp_level 3;
gzip_types text/plain application/x-javascript text/css application/xml text/javascript application/javascript image/jpeg image/jpg image/png;
gzip_proxied any;
gzip_vary on;
gzip_disable "MSIE [1-6]\.";
server {
listen 80;
server_name static.web.com;
location / {
root /usr/share/nginx/html;
index index.html;
}
location /img/ {
root /usr/share/static-web;
autoindex on;
}
location /robot-log/ {
root /usr/share/static-web;
autoindex on;
}
}
}
|
动态配置nginx容器
动态配置nginx容器,需执行以下三步操作:
1、替换容器内的/etc/nginx/nginx.conf
2、拷贝静态资源目录static-web到指定的容器目录/usr/share/
3、重启nginx容器
1
2
3
4
5
6
7
8
9
10
11
12
13
| localhost:nginx-test liaoxb$ ll
total 8
drwxr-xr-x 4 liaoxb staff 128 3 2 22:56 ./
drwxr-xr-x 10 liaoxb staff 320 3 1 23:28 ../
-rw-r--r--@ 1 liaoxb staff 1404 1 16 2019 nginx.conf
drwxr-xr-x 5 liaoxb staff 160 1 16 2019 static-web/
localhost:nginx-test liaoxb$ docker cp nginx.conf nginx-test:/etc/nginx/
localhost:nginx-test liaoxb$ docker cp static-web nginx-test:/usr/share/
localhost:nginx-test liaoxb$ docker restart nginx-test
nginx-test
localhost:nginx-test liaoxb$ docker ps
CONTAINER ID IMAGE COMMAND CREATED STATUS PORTS NAMES
addfae34988b nginx "nginx -g 'daemon of…" About an hour ago Up 7 seconds 0.0.0.0:8080->80/tcp nginx-test
|
访问静态资源
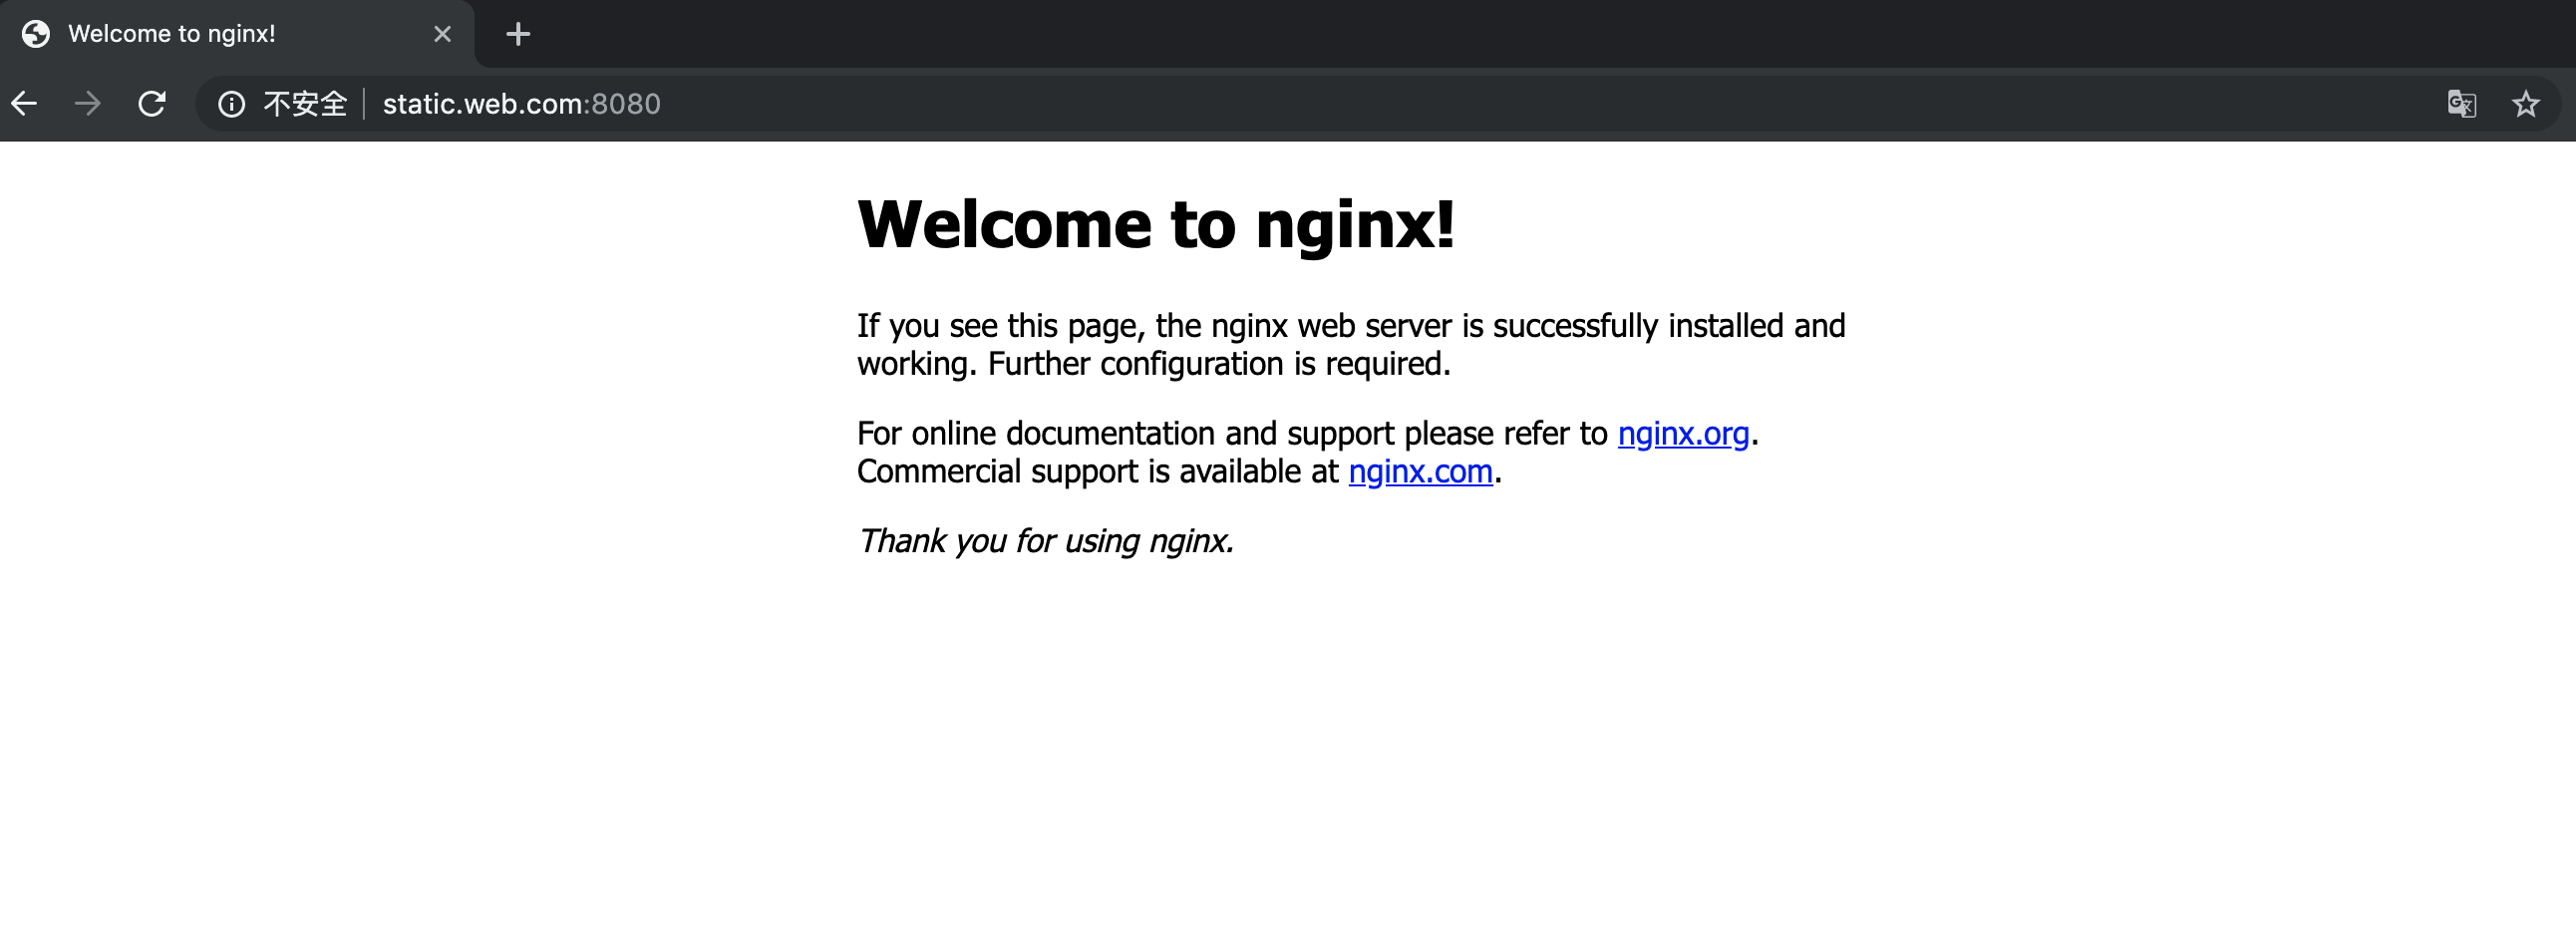
1、域名:8080访问根目录,成功访问nginx默认web页面
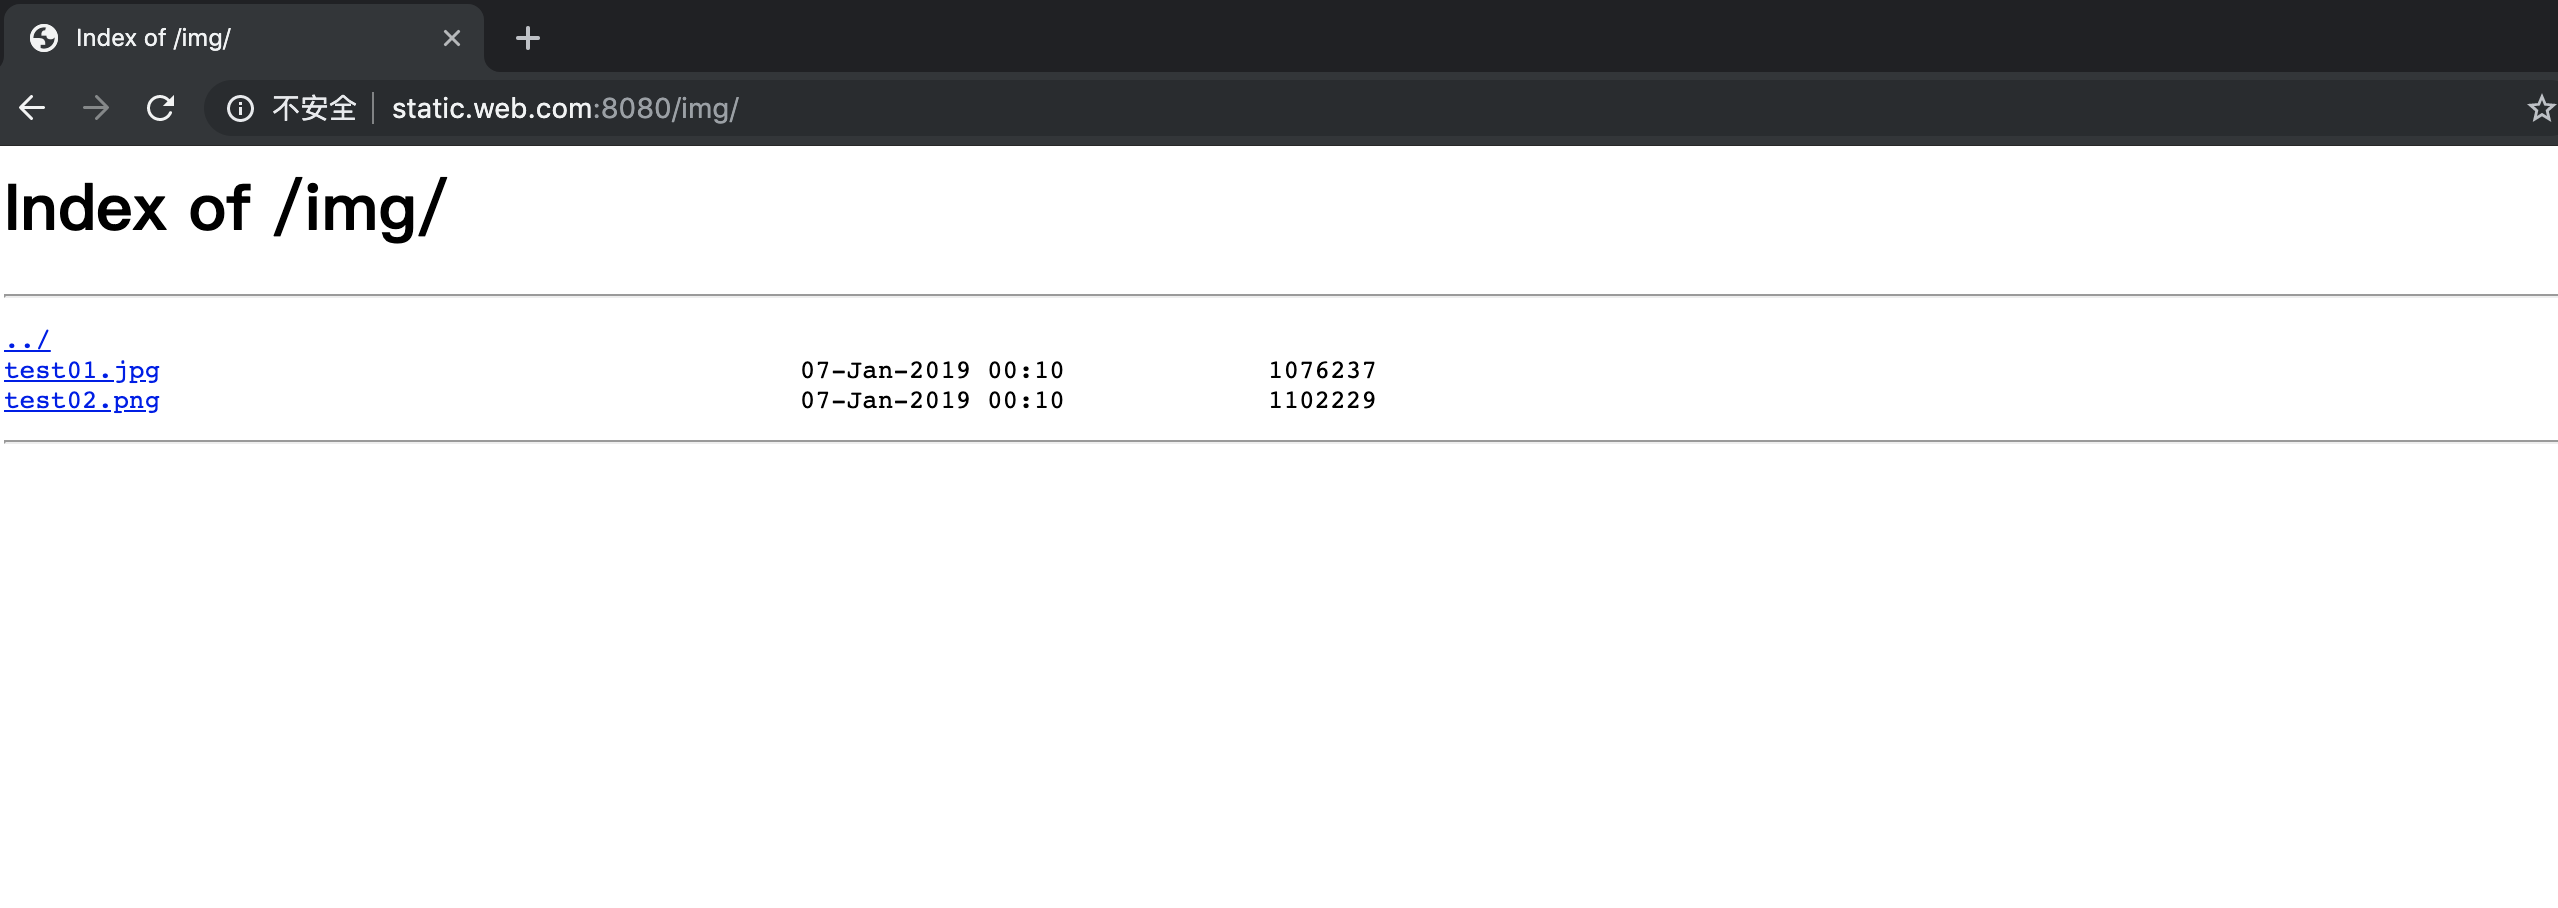
2、域名:8080访问/img/,成功访问目录下的所有图片
3、域名:8080访问/robot-log/,成功访问目录下的归档日志


gzip配置详解
Nginx实现资源压缩的原理是通过ngx_http_gzip_module模块拦截请求,并对需要做gzip的类型做gzip,ngx_http_gzip_module是Nginx默认集成的,不需要重新编译,直接开启即可。
1
2
3
4
5
6
7
8
9
10
11
12
13
14
15
16
17
|
gzip on;
gzip_min_length 1k;
gzip_buffers 4 16k;
gzip_http_version 1.1;
gzip_comp_level 3;
gzip_types text/plain application/x-javascript text/css application/xml text/javascript application/javascript image/jpeg image/jpg image/png;
gzip_proxied any;
gzip_vary on;
gzip_disable "MSIE [1-6]\.";
|
压缩效果对比
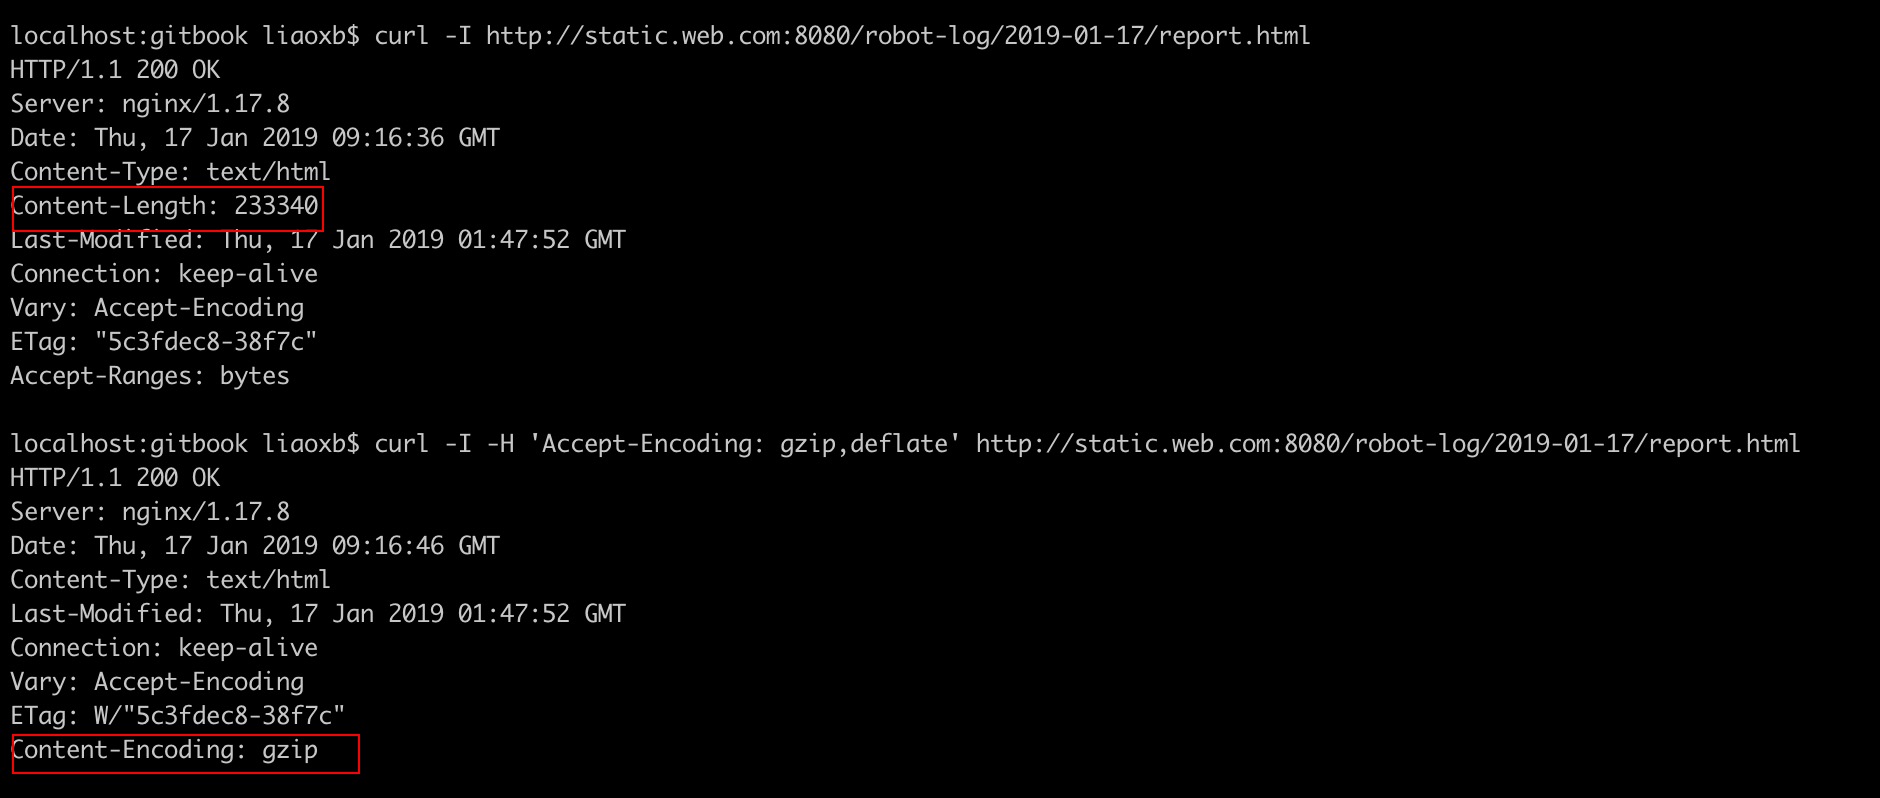
curl命令直接对比查看:
第一次curl请求头未带’Accept-Encoding: gzip,deflate’时,服务器不会压缩,直接返回html,从Content-Length也可以看出report.html的size是233340,也就是228kb大小。
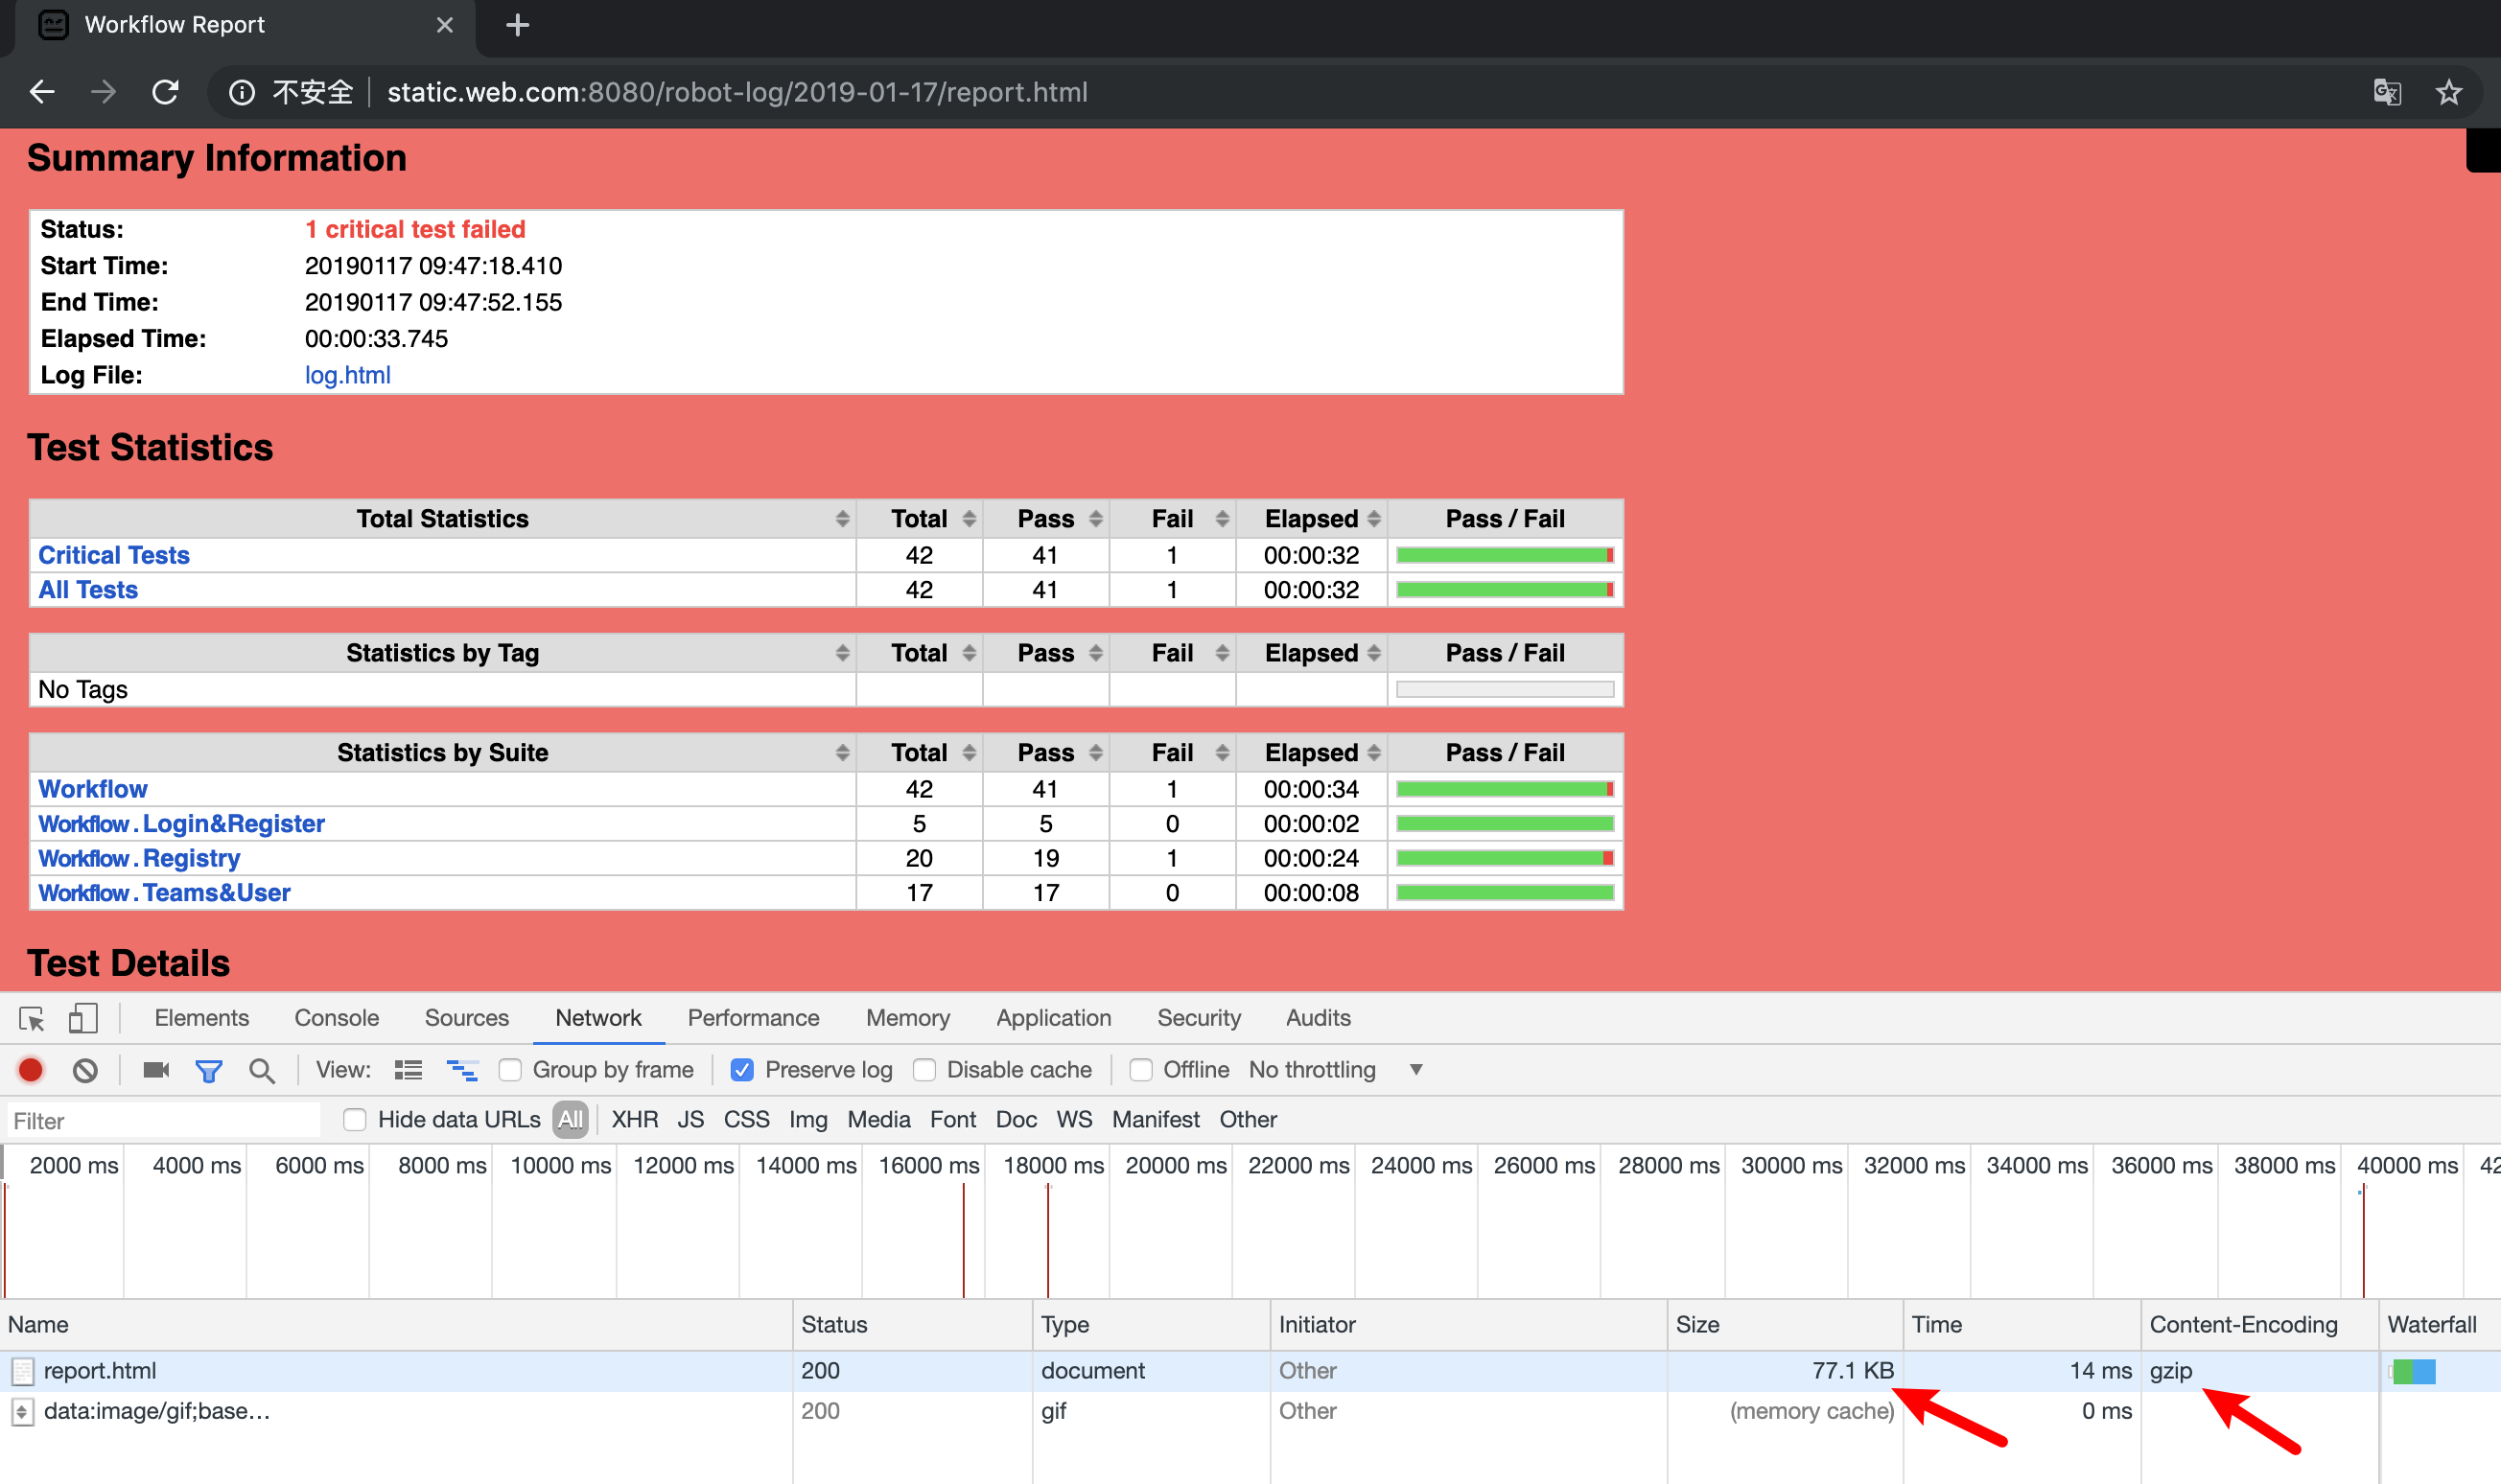
第二次curl请求头带了’Accept-Encoding: gzip,deflate’时,服务器则会进行压缩数据后再返回content,同时response字段也会出现Content-Encoding: gzip,这就证明gzip压缩配置生效了。不过这次的response看不见Content-Length,怎么确定压缩成多少了呢?
这也很容易,结合着浏览器访问同个web页面查看size就清楚了,压缩后是77.1kb。
参考文档:
https://www.w3cschool.cn/nginx/nginx-d1aw28wa.html


